

Get started
Section titled “Get started”Welcome to Google Antigravity! Follow the instructions in this guide to get started on your preferred surface.
Choose your surface
Section titled “Choose your surface”Download and install
Section titled “Download and install”-
Download the Google Antigravity installer for your operating system (or view all builds at antigravity.google/download):
macOSmacOS 12 (Monterey) or later (Apple Silicon or 64-bit Intel)Open the downloaded
Antigravity.dmgdisk image and drag Antigravity into your Applications folder. If you are upgrading an existing installation, select Replace when prompted instead of Keep Both.WindowsWindows 10 (64-bit) or Windows 11Run the downloaded
.exeinstaller and follow the guided setup wizard.Linuxglibc >= 2.28, glibcxx >= 3.4.25 (Ubuntu 20+, Debian 10+, Fedora 36+, RHEL 8+)Extract the archive with
tar -xzf Antigravity.tar.gzand launch./Antigravity.GooglebookGooglebook OS (pre-installed on Googlebooks; update or reinstall via Google Play)Google Antigravity comes pre-installed on Googlebooks. Open Google Play to install updates or reinstall the application.
-
Launch Google Antigravity from your applications launcher or menu.
-
Install the Antigravity CLI (
agy) binary using the automated installer for your operating system:curl -fsSL https://antigravity.google/cli/install.sh | bashDefault binary location:
~/.local/bin/agyirm https://antigravity.google/cli/install.ps1 | iexDefault binary location:
C:\Users\<username>\AppData\Local\agy\bincurl -fsSL https://antigravity.google/cli/install.cmd -o install.cmd && install.cmd && del install.cmdDefault binary location:
C:\Users\<username>\AppData\Local\agy\bin -
Open a terminal window and verify the installation:
agy --version -
Complete the interactive terminal configuration on initial launch:
- Color scheme: Select your visual preference (Dark, Solarized Dark, Solarized Light, or terminal default).
- Rendering mode: Choose Alt-Screen mode (full-screen buffer) or Inline mode (sequential output in terminal history).
- Workspace trust: Confirm that you trust the repository directory before the agent begins file indexing.
-
Install the official Google Antigravity extension for your preferred editor, or download the standalone Antigravity IDE:
Requirements: Visual Studio Code 1.90 or later on macOS, Linux, or Windows.
Open the Extensions sidebar (Cmd+Shift+X on macOS or Ctrl+Shift+X on Windows/Linux), search for Google Antigravity, and click Install. See the VS Code extension guide.
Requirements: Any IntelliJ-based IDE (IntelliJ IDEA, PyCharm, WebStorm, GoLand, CLion, Rider) version 2026.2.1 or later.
Open JetBrains AI > Settings > Agents, search for Antigravity, and click Install. See the IntelliJ-based IDEs guide.
Requirements: Visual Studio 2026 (version 17.8 or higher) on Windows 10/11.
Navigate to Extensions > Manage Extensions, search for Google Antigravity, click Download, and restart Visual Studio to complete the VSIX installation. See the Visual Studio guide.
Requirements: Zed version 0.140.0 or later on macOS or Linux.
Open the Command Palette (Cmd+Shift+P / Ctrl+Shift+P), run
agent: open settings, and navigate to External Agents > Add > Install from Registry to install Antigravity. See the Zed guide.Requirements: Xcode 27 beta 6 or later on macOS.
Open Xcode > Settings (Cmd+,), select the Intelligence panel, and click Get next to Antigravity. See the Xcode guide.
Requirements: macOS 12 (Monterey)+, Windows 10 (64-bit)+, or Linux / Googlebook (glibc >= 2.28, glibcxx >= 3.4.25).
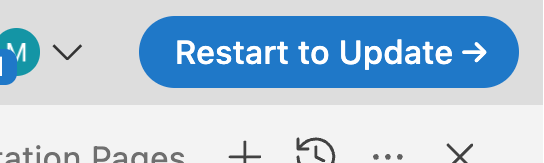
Download the standalone Antigravity IDE installer for your platform from antigravity.google/download. When a new version is available, Antigravity IDE downloads it in the background and prompts you to click Restart to Update:
Basic navigation (Editor & Agent Manager): Open the Agent Manager from the editor using the button on the top bar or Cmd+E (Ctrl+E on Windows/Linux):

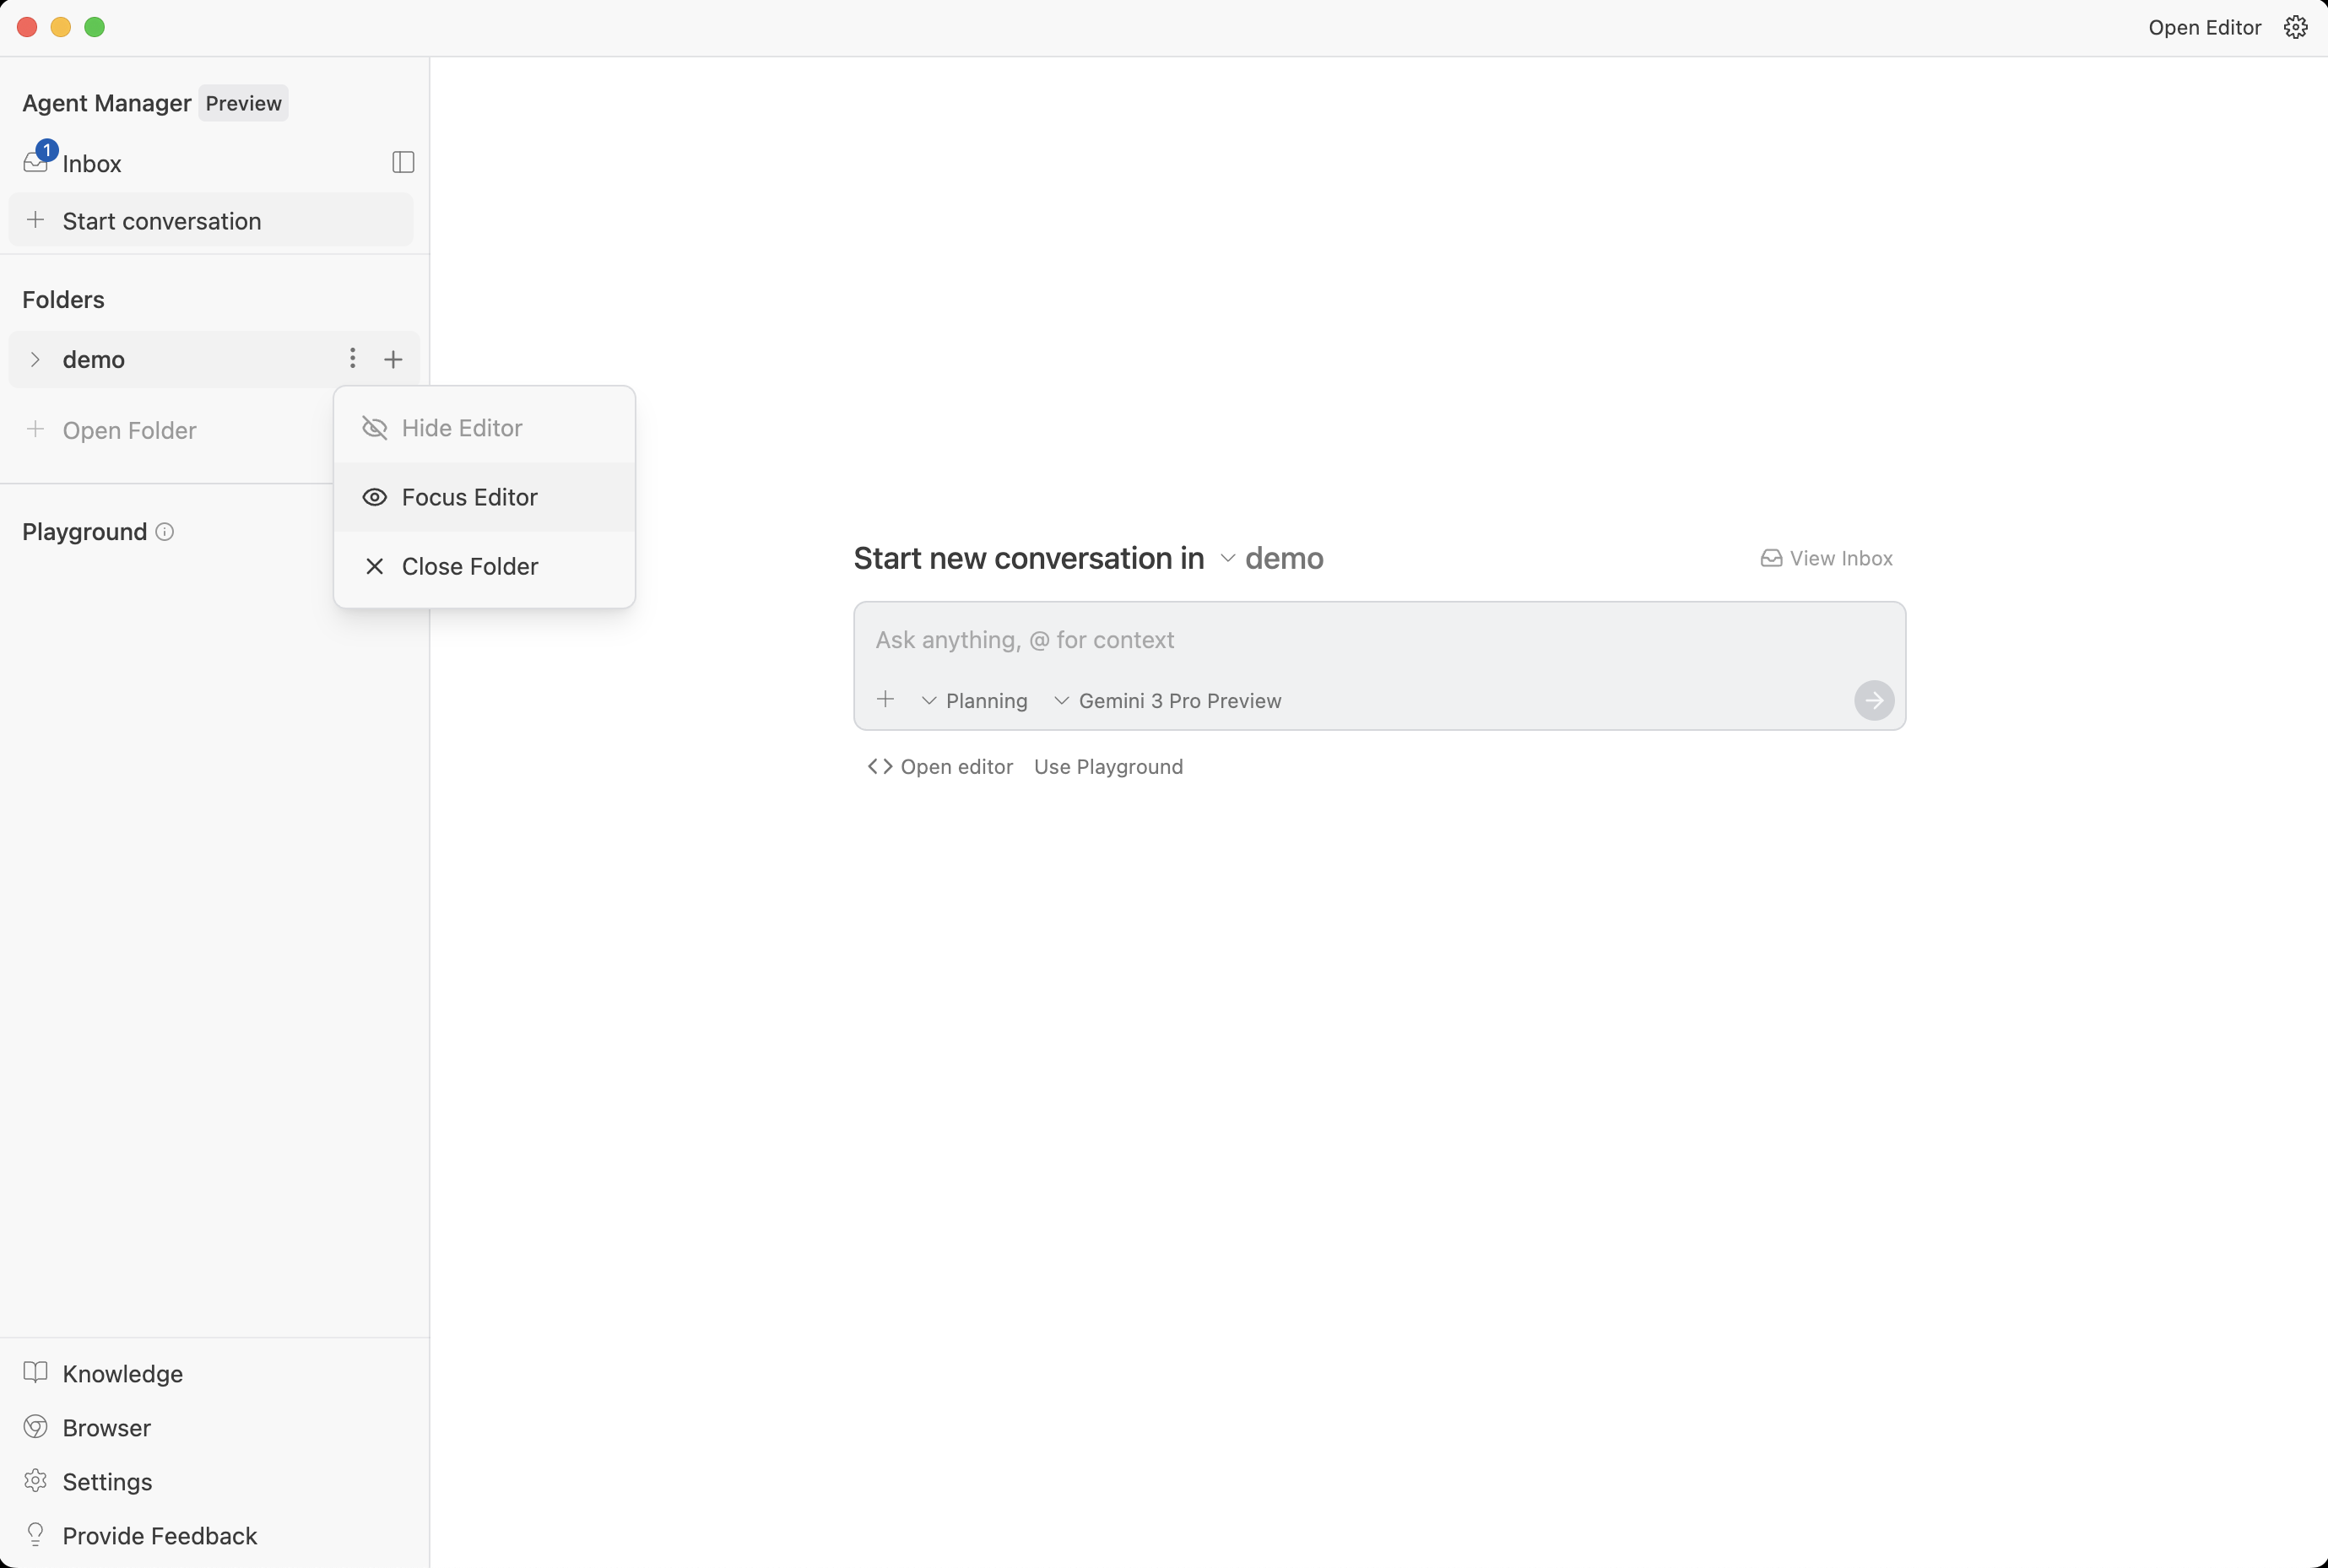
From the Agent Manager, open the editor from any workspace using Focus Editor in the workspace dropdown menu, the Open Editor buttons, or Cmd+E (Ctrl+E on Windows/Linux):
Note: Gemini 4 Argon and Enterprise configurations are not available in standalone Antigravity IDE. To use Gemini 4 Argon or Gemini Enterprise, install the Antigravity app, Antigravity CLI, or IDE extensions.
-
Sign in with your personal Google Account or Gemini Enterprise credentials (Enterprise support is available in IDE extensions—GA in VS Code and Visual Studio, and in Preview for JetBrains, Zed, and Xcode) when prompted in the Antigravity panel or settings.
-
Install the official Antigravity Python package inside a Python 3.10+ virtual environment:
pip install google-antigravityIf you use Poetry or uv for package management:
# Poetry poetry add google-antigravity # uv uv add google-antigravity -
Authenticate and configure your environment:
Configure your API credentials in your environment before initializing the agent harness:
export GEMINI_API_KEY="your_api_key_here"
Start a project
Section titled “Start a project”Agents operate within Projects, which define the repository boundaries, file scopes, and security permissions for your workspaces.
- Click the New Project icon (folder with a plus sign) in the left sidebar.
- Click Add Folder to select one or more local Git repositories or working directories.
- Click Create.
- Type your instruction in the prompt input (for example:
Add unit tests for the authentication handlers) and press Enter. - Choose a Mode in the setup modal to boot up your agent:
- Local mode: The agent operates directly in your active folders.
- New worktree mode: The agent operates in an isolated Git worktree.
Navigate to any codebase directory in your terminal and start a session:
-
Create or navigate to a project directory and launch the TUI:
mkdir agy-demo && cd agy-demo agy -
Enter your first task prompt and press Enter:
Write a simple python script to fetch web page textThe agent indexes the workspace, develops an implementation plan, and displays proposed changes for your review.
-
Open the Artifact Review screen to inspect the proposed code:
Press Ctrl + R when notified to review generated artifacts:
- Navigate to the newly created
main.pyusing ↑/↓, or press Tab from the main prompt to inspect inline diffs. - Press Y to approve the creation of
main.py. - Press Esc to close the review panel and return to the primary prompt.
- Navigate to the newly created
-
Execute a test command with the agent to verify the output:
Run the python script and show me the outputPress Y to confirm and execute
python3 main.py. Once finished, press Ctrl + D (or type/exit) to close the TUI session.
- Open your workspace folder, repository, or solution in your preferred editor.
- Open the Antigravity panel or agent view in your IDE (for example, click the Antigravity icon in the VS Code Activity Bar, press Ctrl+, Ctrl+A in Visual Studio, or select Antigravity in JetBrains AI, Zed External Agents, or Xcode Intelligence).
- Enter a task prompt in the conversation panel to start an agent session that shares context and customizations with the rest of the Antigravity ecosystem.
- Inspect interactive implementation plans, review granular inline diffs, and execute multi-step engineering tasks directly inside your editor.
-
Create a file named
hello_agent.pyto instantiate and run an autonomous agent:import asyncio from google.antigravity import Agent, LocalAgentConfig async def main(): # Initialize the local agent harness config = LocalAgentConfig() async with Agent(config) as agent: response = await agent.chat("What files are in the current directory and what is their purpose?") print(await response.text()) if __name__ == "__main__": asyncio.run(main()) -
Execute the agent script in your terminal:
python hello_agent.py -
Configure declarative tool policies:
Use
LocalAgentConfigandgoogle.antigravity.hooks.policyto define explicit tool execution rules:from google.antigravity import LocalAgentConfig from google.antigravity.hooks.policy import allow, deny config = LocalAgentConfig( policies=[ deny("*"), allow("view_file"), ] )
Shortcuts and commands
Section titled “Shortcuts and commands”Navigation shortcuts
Section titled “Navigation shortcuts”| Action | macOS | Windows / Linux | Description |
|---|---|---|---|
| Conversation picker | ⌘K | Ctrl + K | Search and switch between active agent threads |
| File search | ⌘P | Ctrl + P | Fuzzy search and navigate files across the workspace |
| Focus input | ⌘L | Ctrl + L | Jump cursor focus directly into the agent prompt box |
| New conversation | ⌘N | Ctrl + N | Start a fresh autonomous agent session |
| Cycle conversations | ⌥ Up / Down | Alt + Up / Down | Move to previous or next conversation in history |
Core slash commands
Section titled “Core slash commands”| Command | Description |
|---|---|
/goal | Runs the task autonomously until completion without pausing for intermediate input. |
/grill-me | Prompts the agent to interview you about requirements before beginning implementation. |
/schedule | Runs an instruction as a one-time delayed task or recurring cron schedule. |
/browser | Initiates browser debugging and research actions in Google Chrome. |
/plugin | Manages installed Marketplace plugins or creates and configures custom plugin bundles. |
Common CLI commands
Section titled “Common CLI commands”| Command | Description |
|---|---|
agy | Launches the interactive TUI in the current directory. |
agy "prompt" | Launches a session with an initial prompt. |
/agents | Switches between active background subagents. |
/statusline | Toggles or configures the terminal status line display. |
/usage | Displays current model credit consumption and quota limits. |
/exit | Closes the TUI and restores your original shell session. |
Keyboard shortcuts
Section titled “Keyboard shortcuts”| Shortcut | Action |
|---|---|
| Ctrl + R | Open the Artifact Review screen to inspect plans and diffs |
| Tab | Inspect file diffs and tool execution details |
| Ctrl + C | Interrupt current agent generation |
| Ctrl + O | Expand or collapse active tool execution pill |
| Ctrl + D | Exit the active Antigravity CLI session |
| Esc | Exit diff inspector or close active overlay |
Editor commands and shortcuts
Section titled “Editor commands and shortcuts”| IDE | Shortcut / Command | Action |
|---|---|---|
| VS Code | ⌘⇧X / Ctrl + Shift + X | Open Extensions sidebar to install or manage Google Antigravity |
| Visual Studio | Ctrl+, Ctrl+A | Open the Antigravity tool window |
| Zed | ⌘⇧P / Ctrl + Shift + P → agent: open settings | Open Agent settings to configure External Agents |
| JetBrains | JetBrains AI > Settings > Agents | Install or configure the Antigravity agent |
| Xcode | ⌘, → Intelligence | Manage and authenticate Antigravity in Xcode Settings |
Authentication configuration
Section titled “Authentication configuration”Auth type (auth.type) | Account tier | Description |
|---|---|---|
"oauth-personal" | Individual Google Accounts | Authenticates personal Free, Pro, and Ultra plans. |
"oauth-business" | Gemini Enterprise (Preview) | Authenticates corporate identity with gcp.project and gcp.location. |
"gemini-api-key" | Gemini API | Authenticates using a Gemini API key. |
"agent-platform" | Agent Platform (Preview) | Authenticates with Gemini Enterprise Agent Platform via API key or ADC. |
Common SDK methods and configuration
Section titled “Common SDK methods and configuration”| Method / Command | Description |
|---|---|
await agent.chat(prompt) | Sends a user prompt to the agent and returns the turn response. |
LocalAgentConfig(policies=...) | Configures declarative tool execution policies (allow, deny, ask_user). |
LocalAgentConfig(system_instructions=...) | Customizes the agent persona and system instructions. |
export GEMINI_API_KEY="..." | Sets Gemini API credentials in the environment. |
Additional resources
Section titled “Additional resources”Autonomous subagents, visual artifacts, and tool integrations.
Local security boundaries, sandboxing, and execution gates.
Configuration options for projects, models, and agent behavior.
Reasoning effort levels, thinking budgets, and supported frontier models.
Verification loops, rule files, and session checkpoints.
Path resolution, keyring authentication, and SSH forwarding.
Catalog of commands, keybindings, and JSON schemas.
Modal navigation and keybindings within the terminal user interface.
Supported editors, unified authentication, and enterprise licensing across IDEs.
Install from the VS Code Marketplace and configure your local workspace.
Set up the Antigravity agent in IntelliJ IDEA, PyCharm, WebStorm, GoLand, and Rider.
Configure Gemini Enterprise sign-in, IAM policies, and VPC Service Controls.
Architectural overview of the Python runtime harness and async session manager.
System prompt configuration and specialized agent personas.
Register custom Python tools, shell executors, and skills.
Integrate external MCP servers and resources into SDK pipelines.