

Model Context Protocol (MCP)
Section titled “Model Context Protocol (MCP)”Antigravity supports the Model Context Protocol (MCP), an open standard that lets AI agents and editors securely connect to local developer tools, databases, file parsers, and external remote APIs. This integration provides the AI model with real-time context and execution capabilities beyond your immediate workspace.
In this guide, you’ll learn how to connect and configure MCP servers across Antigravity products.
What is MCP?
Section titled “What is MCP?”MCP acts as a universal bridge between Antigravity and your broader development environment. Instead of manually copying and pasting database schemas, logs, or API specifications into prompts or chat panels, MCP lets Antigravity fetch structured context directly or execute safe actions on your behalf when needed.
Add Context
Section titled “Add Context”With MCP, Antigravity can use live data from connected MCP servers to inform its reasoning and suggestions:
- When writing a SQL query, Antigravity can inspect your live Neon, Supabase, or AlloyDB schema to suggest correct table and column names.
- When debugging deployment failures, Antigravity can pull recent build logs directly from Netlify or Heroku.
Add Custom Tools
Section titled “Add Custom Tools”With MCP, Antigravity can execute specific, safe actions defined by your connected servers:
- Create a Linear issue for this TODO.
- Search Notion or GitHub for authentication patterns.
Getting started by surface
Section titled “Getting started by surface”In Antigravity 2.0, you can manage your MCP servers through the Installed MCP Servers section of your Settings.
To view and update your MCP servers:
- Click the Settings button found on the bottom left of your screen.
- Select Customizations and review the Installed MCP Servers section.
To install an MCP server from the Installed MCP Servers section:
- Click Add MCP. This will connect you to the MCP Store, a searchable list of available MCP servers.
- Search or scroll down to an MCP server you’d like to install.
- Click Add.
To manage your MCP servers from this screen:
- Uninstall: Click the trash can icon next to the MCP server in the list.
- Disable/enable: Click the toggle switch next to the MCP server in the list.
- Refresh: Click the refresh button.
Antigravity CLI supports both local stdio processes and remote host MCP server configurations. The simplest path to installing an MCP server on Antigravity CLI is by using the Interactive MCP Manager. You can also manually edit your global server setup or workspace-level mcp_config.json.
Interactive MCP Manager
Section titled “Interactive MCP Manager”Type /mcp inside the prompt panel and press Enter to open the interactive MCP Manager Overlay. This panel lets you:
- View live status rings for active, disconnected, or loading servers.
- Manually reload server configurations or inspect real-time connection logs.
Global and Workspace Server Configs
Section titled “Global and Workspace Server Configs”Unlike legacy setups, Antigravity CLI separates MCP definitions into dedicated, sparse configurations:
- Global server setups: Configured in
~/.gemini/config/mcp_config.json. - Workspace local setups: Configured in your active project under
.agents/mcp_config.json.
You can modify these files directly with your custom MCP server configuration.
In Antigravity IDE, the easiest way to manage MCP servers is through the built-in MCP Store. In the MCP Store, you can browse, discover, and install supported MCP servers. You can also install custom servers by updating your mcp_config.json.
To use the MCP Store:
- Click … at the top of the editor’s agent side panel and select MCP Servers.
- Hover over any supported server and click Install. (Or, click a server to view details and then click Install.)
- Follow any on-screen prompts.
Once installed, resources and tools from the server are automatically available to the editor.
To connect to a custom MCP server not listed in the store:
- Click … at the top of the editor’s agent side panel and select MCP Servers.
- Click Manage MCP Servers.
- Click View raw config.
- Modify the
mcp_config.jsonfile with your custom MCP server configuration.
The configuration file is located globally at ~/.gemini/config/mcp_config.json (or locally in your workspace under .agents/mcp_config.json).
MCP Configuration Structure
Section titled “MCP Configuration Structure”Whether configuring custom servers for Antigravity 2.0, Antigravity IDE, or Antigravity CLI, the configuration file follows a standardized format. The file contains a single mcpServers object where you define each server you want to connect to:
{
  "mcpServers": {
    "sqlite-explorer": {
      "command": "node",
      "args": ["/usr/local/bin/sqlite-mcp-server.js"],
      "env": {
        "SQLITE_DB_PATH": "/var/data/app.db"
      }
    },
    "my-remote-server": {
      "serverUrl": "https://api.example.com/mcp/",
      "headers": {
        "Authorization": "Bearer YOUR_API_TOKEN"
      }
    }
  }
}
MCP Configuration Properties
Section titled “MCP Configuration Properties”Each server entry under mcpServers supports the following properties:
Transport (one required):
command(string): Path to the executable forstdiotransport.serverUrl(string): URL for remoteStreamable HTTPorSSEservers.
Optional:
args(string[]): Command-line arguments forstdiotransport.env(object): Environment variables for thestdioserver process.cwd(string): Working directory forstdioservers.headers(object): Custom HTTP headers for remote servers.authProviderType(string): Authentication provider. Supports"google_credentials"for Google Application Default Credentials (ADC).oauth(object): OAuth client credentials (clientId,clientSecret).disabled(boolean): Temporarily disable a server without removing its configuration.disabledTools(string[]): Tool names to withhold from the model.
MCP Authentication
Section titled “MCP Authentication”Connected MCP servers can securely authenticate against external services using built-in Google credentials, automatic OAuth flows, or custom HTTP headers.
Google Credentials
Section titled “Google Credentials”Set authProviderType to "google_credentials" to use Google Application Default Credentials (ADC).
{
  "mcpServers": {
    "my-gcp-service": {
      "serverUrl": "https://example.googleapis.com/mcp/",
      "authProviderType": "google_credentials"
    }
  }
}
This requires Application Default Credentials to be configured locally. To set them up, run:
gcloud auth application-default loginIf you previously logged in, ensure your quota project is set by running:
gcloud auth application-default set-quota-project {QUOTA_PROJECT}Antigravity can automatically handle OAuth for servers that support dynamic client registration (DCR). For these servers, no additional configuration is needed:
{
  "mcpServers": {
    "oauth-server": {
      "serverUrl": "https://api.example.com/mcp/"
    }
  }
}
If the server does not support dynamic client registration, you can provide your client credentials manually:
{
  "mcpServers": {
    "oauth-server": {
      "serverUrl": "https://api.example.com/mcp/",
      "oauth": {
        "clientId": "your-client-id",
        "clientSecret": "your-client-secret"
      }
    }
  }
}
If you provided client credentials manually, ensure the following is registered as a redirect URI in your OAuth provider:
https://antigravity.google/oauth-callbackWhen connecting to an OAuth-enabled server:
-
Open Agent Settings with
Cmd+,(Mac) orCtrl+,(Windows/Linux). -
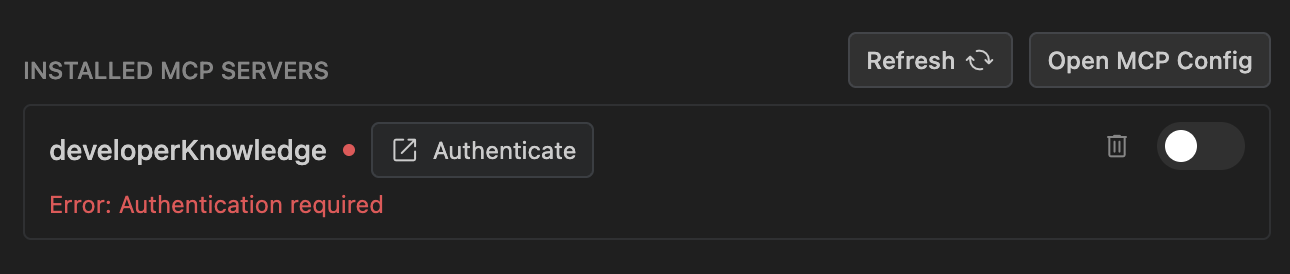
Navigate to the Customizations tab and click the Authenticate button next to the server.
-
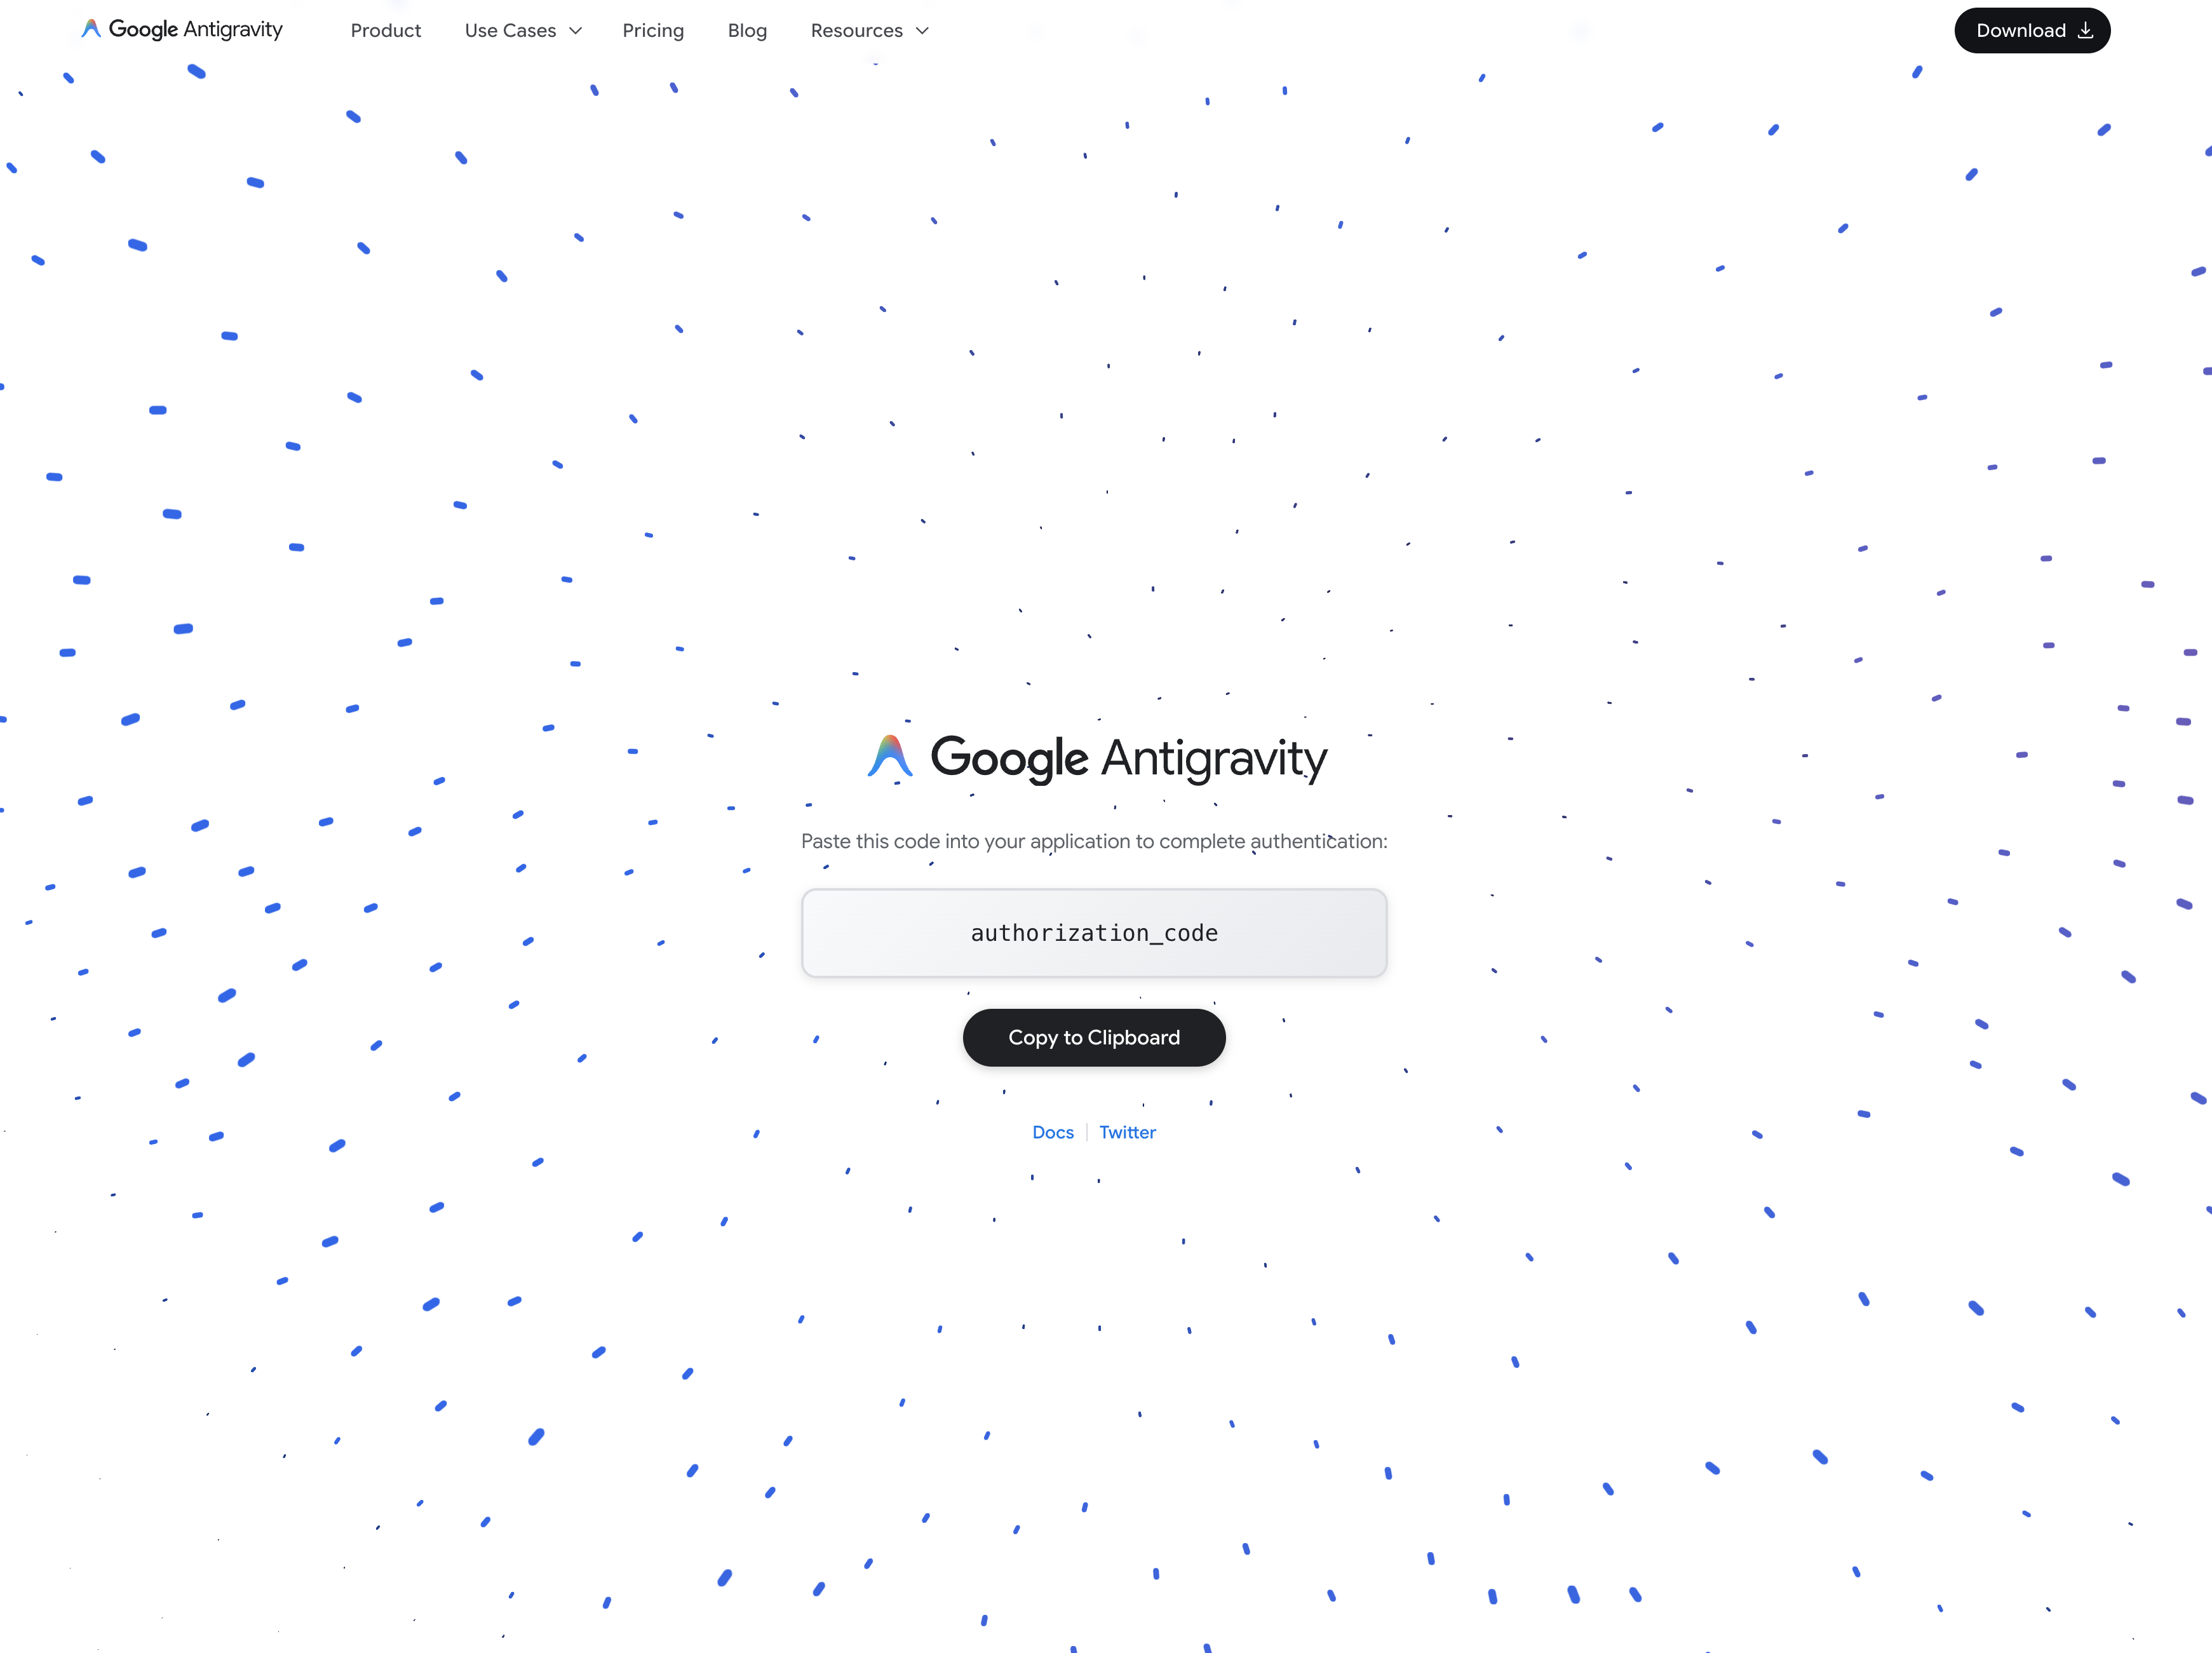
Complete authentication in your browser and copy the authorization code.
-
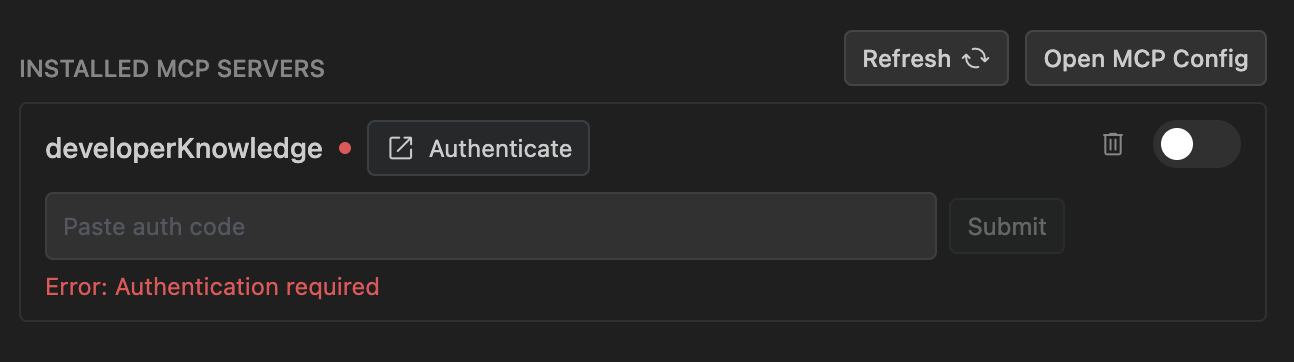
Paste the code back into the settings panel and click Submit.
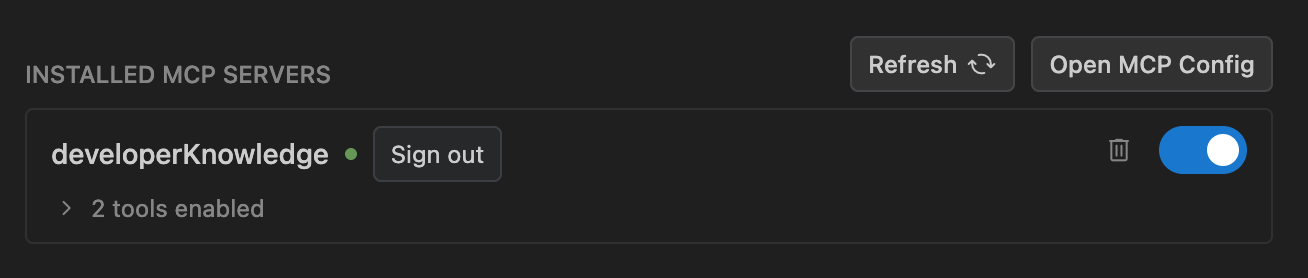
Once authenticated, the server will reconnect automatically.
Access tokens are stored in ~/.gemini/antigravity/mcp_oauth_tokens.json. Expired tokens are refreshed automatically, and invalid tokens are removed.
Custom Headers
Section titled “Custom Headers”For remote servers that require custom HTTP headers (e.g. API keys or bearer tokens), add them to the headers object. For example:
{
  "mcpServers": {
    "my-remote-server": {
      "serverUrl": "https://api.example.com/mcp/",
      "headers": {
        "Authorization": "Bearer YOUR_API_TOKEN"
      }
    }
  }
}
MCP Permissions and Access Control
Section titled “MCP Permissions and Access Control”Access to Model Context Protocol tools and resources is governed by Antigravity’s permissions system. By default, unconfigured MCP tools run in Ask mode, requiring your approval before execution. You can allow specific tools or entire servers in your policy configuration:
mcp(server/tool): Matches a specific tool on a specific server.mcp(server/*): Matches all tools on a specified server.mcp(*): Global wildcard matching any MCP tool across all connected servers.
Supported MCP Servers
Section titled “Supported MCP Servers”The MCP Store features direct integrations for a wide variety of developer platforms, databases, and productivity services:
Databases & Storage (15 servers)
Developer Tools & CI/CD (17 servers)
Frontend & Design (8 servers)
Security (4 servers)
Analytics, AI & Cloud (32 servers)
- Airweave
- Antimetal
- Arize
- Cloud Audit Manager
- Courtroom5
- Daloopa
- Docusign
- Exa
- FactSet AI-Ready Data
- Finnhub
- Firebase
- Fiscal.ai
- Google Cloud Quotas
- Grafana Cloud
- Guidepoint
- Harvey
- iManage
- LegalZoom
- Looker
- LSEG
- NetDocuments
- Notion
- Parallel Search
- PayPal
- Perplexity Ask
- PostHog
- Relativity
- S&P Global
- Salesforce
- Sequential Thinking
- Stripe
- Windsor AI